Wow!! Kathy is giving away one of her Jan-Mar 2014 Kit Club Memberships!! The catch is you have to complete a project, post pictures and make a youtube video of the completed project. You have until December 22, 2013 to complete it. For all of the details check out Kathy's blog entry at Paper Phenomenon. I used Kathy's Paperbag Album - Matchbook Style to make my Family Tree project.
The video at the end shows the final product.
First, I used these videos to make this project:
I thought this project would be perfect for a Family Tree, so that was my plan going in. First, I did not have any fancy paper bags, so I just used the craft colored lunch bags I had bought in a package at the grocery store.
I started with 6 paper bags.
I cut the bags down to 7.5" tall.
Next, I folded the bags as described by Kathy.
Next, I made the cut on one side just below the fold on the bottom of the bag. Then I tapered the ends on the rest of the same side.
The cut at the bottom of the bag is tucked into the other side of the bag.
The next step is to tape the tapered edge to the rest of the bag. Adhere the bottom of the bag together.
When all 6 bags are completed, start taping or gluing the bottom of the bags together, alternating the straight edge with the angle edge, keeping the bags aligned at the top.
I forgot to take a picture of the front and back covers after I scored them, but Kathy's video gives all of the details needed. I did have to adjust my measurements because my bags final width was wider than Kathy's, so be aware of that when you make this.
This is a view of the back of the matchbook cover.
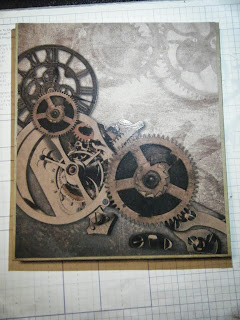
The cover is made with paper from the Tattered Time paper pack from DCWV.
This is the front cover of the matchbook.
Here is what the inside of the matchbook looks like before the bags are inserted in it.
This is the first bag after I added some cardstock to the front of it. The paper used on the bags are from The Paper Studio called The Family Tree which I thought was appropriate for this project.
This is the back of the first bag and the front of the second bag.
The back of the second bag and front of the third bag.
The third through sixth bag are in the following pictures.
I cut the extra cardstock from the picture mats to 2" wide to make tabs for the mats.
I then scored them at .5", 1", 1.5"
I used my new Envelope Punch Board from Stampin' Up to punch the tabs at the 1" score to make the tapered edges.
I used Kathy's tutorial on making the tabs by adding adhesive to the back of the tab in 3 places. Stick the top of the tab together, then tape the two pieces to each side of the picture mat.
This is how it looks after the picture mats are inserted into the paper bags.


I like the way that turned out. Great Idea!
ReplyDelete