Once again,
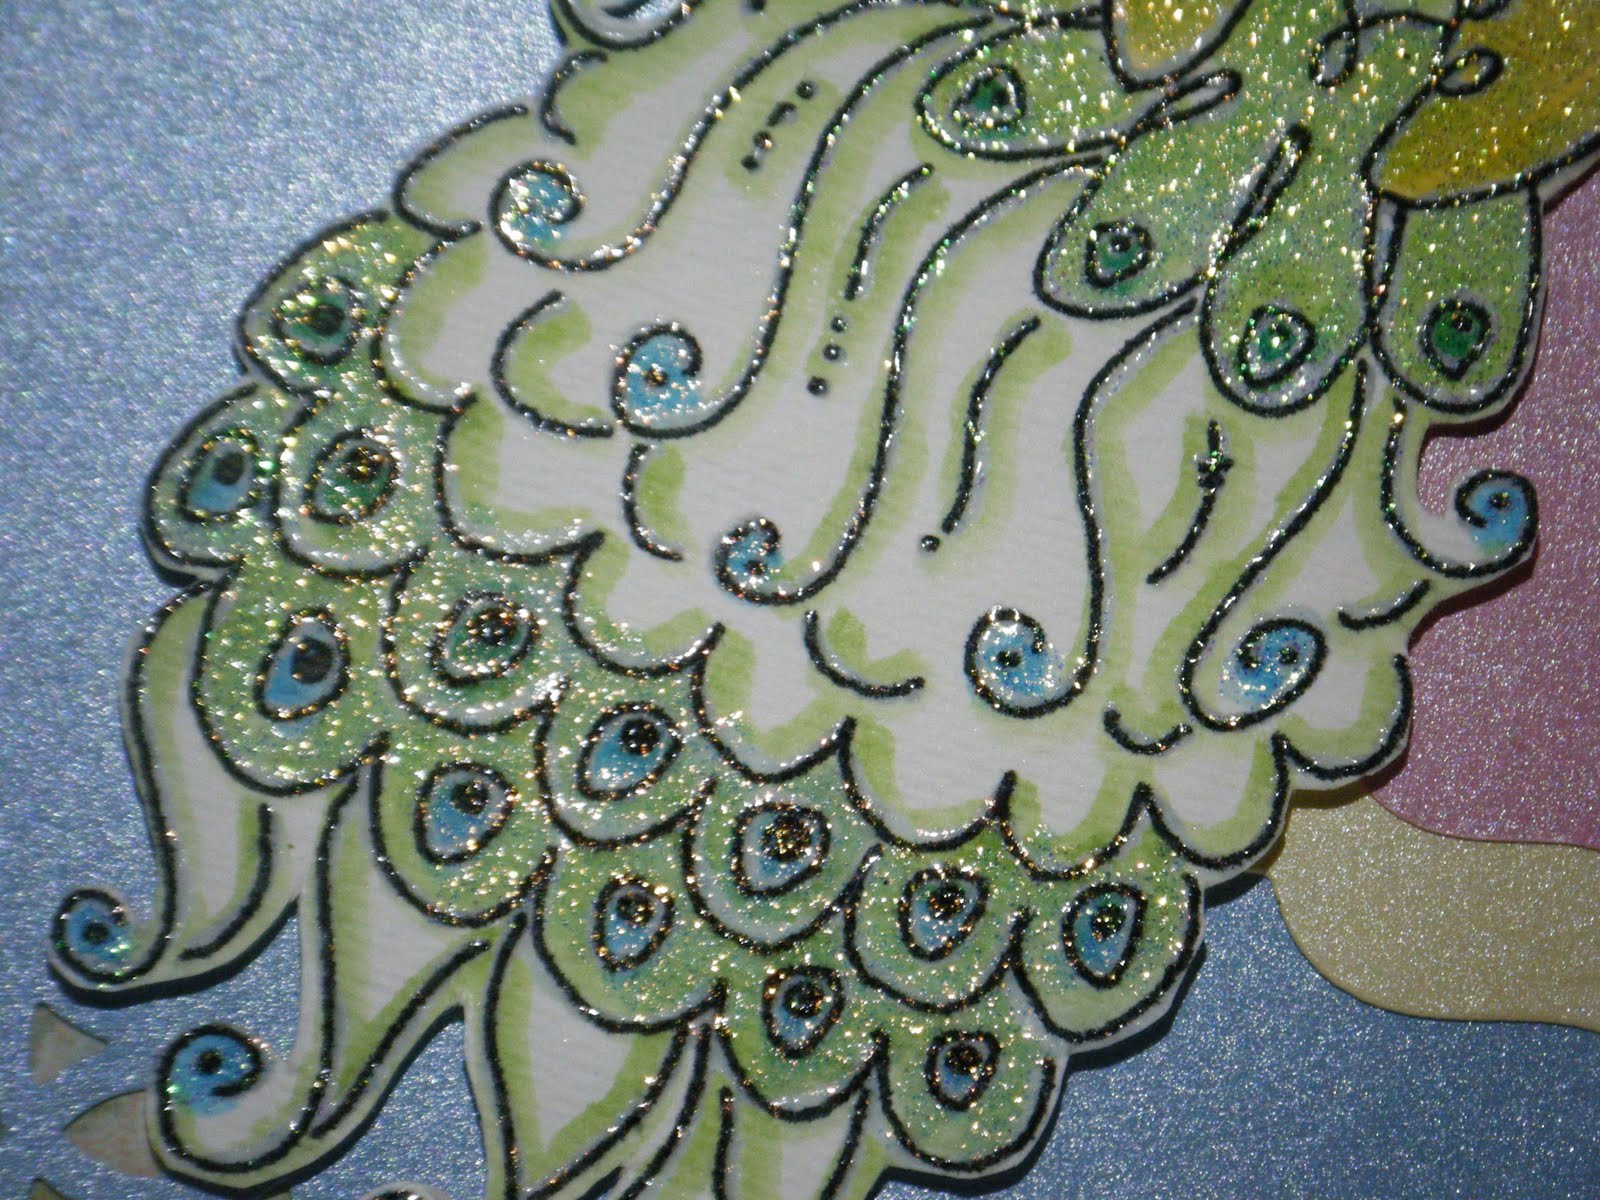
Designed2Delight has given an AWESOME digi stamp to complete the Friday's Freebie Challenge. When I first saw it in my email, I was stumped on how I should color it. It has such flowing lines and curlicues in the feathers, I was afraid I would really blow it. To work it out I printed out some small versions of the digi to experiment on. Low and behold, the first combination of colors I used turned out really good if I do say so myself. Now I had my colors and I had to decide how to execute them on the image. Peacocks have a shimmer to their feathers that I also wanted to make sure to have on the image. To encompass all of these different aspects, I first clear embossed the outline of a larger image of the peacock. Next I turned to my standby of CTMH stamp pads and Tombow Blending Pen. The colors used were Clover Meadow Green, Tropical Blue and Goldrush. After coloring everything, I cut out the image, went over it with an embossing pen and put Ranger Holographic embossing powder on it. This gave it a very sparkly shimmer to the peacock. This card I layered onto Best Occasions Pearlized paper, the ivory and pink cut with a spellbinders nestabilities die set. On the blue pearlized paper, I used a Martha Stewart corner punch. These were all layered on K & Company - Life's Journey.
![]()
![]()
I wanted to try an alternate coloring method on this image because it has so many possibilities. I have a gel pen set that includes some with a pearlized effect. I pulled a blue, green, and gold pen with this ink type and just colored my peacock. I really love the way it turned out. I cut it out and layered it on ivory pearlized paper cut down with a spellbinders nestability die and then embossed it in a cuttlebug Victoria embossing folder. I did sponge the edges with some tropical blue to give it definition. I had a Basic Grey undressed chipboard Periphery set and I punched out 2 pieces and colored them with a Color Box gold stamp pad to dress up the edges of the diecut paper. All of these pieces were layered on another piece of K & Company - Life's Journey.
After coloring these two images, I can not wait to try some other ideas out. I am not sure that I really showcased the images to their best advantage because something seems missing on my cards, but I will work on it. Hope you can use these coloring ideas and enjoy my cards.


Beautiful card! Thanks for joining us @ D2D!
ReplyDeleteI love how you coloured the peacock, it's just beautiful!
ReplyDeleteThank you for the great inspiration you have give me with your wonderful comments on my card at D2D challenge. Your cards are so beautiful. I will be checking your blog regularly.
ReplyDelete